Join our CAD community forums where over 25,000 users interact to solve day to day problems and share ideas. We encourage you to visit, invite you to participate and look forward to your input and opinions. Acrobat 3D, AutoCAD, Catia, Inventor, IronCAD, Creo, Pro/ENGINEER, Solid Edge, SolidWorks, and others.
Use the "Fill" feature. Select 1 edge first and select the surface, then change to curvature continuity. Do the same with the others edges and surfaces.
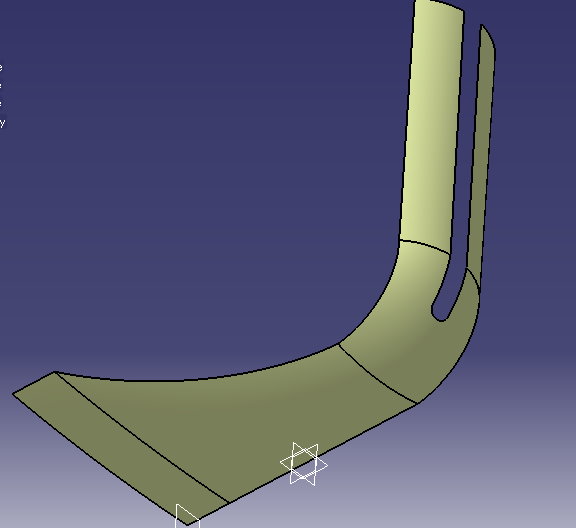
If you want to keep the round profile; add another Sweep surface along the curves (see picture below), and then add a Fill surface between the two edges to make the spherical end.
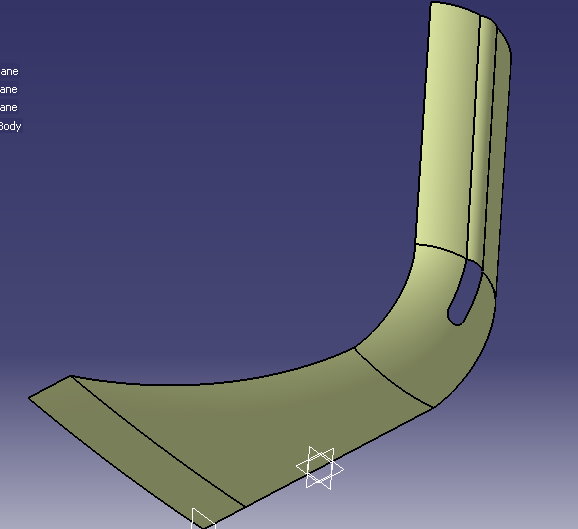
Before blending I used fill but received an error message that there is a gap on the left edge and couldn't correct it.
Generally, how I can remove an unwanted gap in a shape, while I always use project and specify a point as a reliable reference for drawing the lines connected to the crossed lines, nonetheless I sometimes encounter gap error? Also, is there any option (in GSD or PD) to check and test a part to reveal its failures?
MrCatia
When Catia is open on the screen, I use Print Screen button of the keyboard and take a photo of the work and then post it into the Photoimpact X3 software. I usually cut the picture as a suitable image or add some lines, color or text based on my requirements. It is a very fast and easy way for preparing a necessary picture, though a very little of its resolution loses.
If you have the "gap" error message it means that the contour you selected is not closed.
Be careful to select ALL the edges of your holes.
If indeed there is a small gap somewhere in your surface (for instance 0,0256mm) use the feature "Healing" to join all surfaces (it is next to join feature) this should remove small gaps.
This site uses cookies to help personalise content, tailor your experience and to keep you logged in if you register.
By continuing to use this site, you are consenting to our use of cookies.


")